My Claude Code Setup | Tips & Hacks After Going All-In
Hassan Saado
Feb 13th, 2026
I have been a Cursor user since it was released and really loved how they did AI compared to VS Code Copilot. So when people started raving about Claude Code I brushed it off, a terminal tool replacing a full IDE sounded backwards to me. But towards the end of 2025 something shifted. It wasn't the usual AI hype crowd anymore, it was serious engineers I respect who started praising Claude Code CLI. So I gave it a shot and I have officially joined the hype-train. Two months in and I've basically rebuilt how I code from the ground up.
The Setup That Makes You 10x
If you take one thing from this article it is that you should invest time in researching and customizing your Claude Code setup. Claude Code is powerful out of the box, and that's exactly why so many engineers just stick with the default and never explore what's possible. But the most important thing is that you actually put in the effort to learn the different customization options and make it fit how you work. This is how you achieve that 10x engineer efficiency everyone talks about. Everything else I share here are findings from my own experience that I think can help you, but it all starts with this.
Skills Are Everything
This is where it gets really powerful. Custom skills can handle anything, from simple stuff like git flows and formatting, to complex workflows. I connect MCP plugins to bring in tools and apps like GitHub, Notion, and Slack directly into the CLI, so all my context and tooling lives in one place. I used to toggle between an AI chat and my IDE for different tasks, but now I stay in Claude Code as much as possible. Skills are what make that possible, they turn the agent into something that fits your exact workflow instead of the other way around.
A skill is a Markdown file that gives Claude Code persistent instructions for a specific task or domain. Think of it as a reusable prompt that lives in your project. Claude Code comes with built-in skills, but the real power is in creating your own. Skills can be used in two ways: either you trigger them explicitly as a /command, or the agent reads them automatically when it decides they're relevant to the task at hand. They live in your .claude/ directory and are automatically picked up by the agent.
One Repo for All Your Customizations
Start by creating a dedicated git repo for your custom skills, agents and config files. Whether you're working professionally or on private side projects, having your customizations in one place is a massive convenience win.
You can check out my setup as a reference.
The Interview That Saves Hours
Plan mode is a game-changer because it allows the AI to think through the logic and architecture of a complex change before writing any code, preventing messy and time-consuming trial-and-error edits. Since the plan is the foundation of everything the agent does, a poor plan guarantees bad code and even worse, endless redos. I cannot stress the value of planning enough, even for simpler tasks.
My number one realization for truly leveling up plan-mode is to start with an interview. While the default agent can ask implementation questions, they often cap at 3–4 questions regardless of the feature's size. To bypass this, I use a custom "Interview" skill (example in my .claude repo). By forcing the agent to use the AskUserQuestion tool for a deep-dive interview, you extract the detailed specifications needed for a well-rounded plan. This is absolutely vital for critical or large-scale changes.
It is very tempting to just hit accept, but I urge you to actually read the plan. Catching logic flaws early saves massive amounts of time in the long run. I'll confess, I'm not perfect and I skip it sometimes too, but for any critical feature, I make sure to read it properly and iterate until it is 100% solid.
The Implementation Pipeline
- Discovery ➔
$ /interview "Feature details..." - Extraction ➔ Answer detailed questions to solve for ambiguity and edge cases.
- Planning ➔
$ /planwith the crisp interview specs as input. - Refinement ➔ Iterate on the logic until the blueprint is 100% solid.
- Execution ➔ Only now do you let the agent go free and do its magic.
Watch Claude Test Your App Like a Real User
Testing an interface and detecting edge cases can be tricky and time-consuming. It's the kind of work that's important enough that you can't skip it, but repetitive enough that you start cutting corners by the third PR of the day. Playwright and Claude Code together solve this beautifully. Playwright handles the browser: clicking, typing, navigating. Claude Code handles the thinking: what to test, what inputs to try, what looks off. Sitting back and watching an agent click through your app like an actual user, that's one of those "okay, this is actually insane" AI moments.
I wrapped this into a /ui-review skill. After implementation, I run it and the agent spins up a Playwright browser, checks the diff against main to understand what changed, and starts testing. Clicking through flows, filling in values, trying edge cases, all without a single instruction from me. It already has the full context from the implementation conversation, so it knows exactly what to look for. The result is a detailed report of bugs, visual issues, and edge cases, ready to fix or dismiss before the PR goes up.
Beautiful Interfaces on Autopilot
If you do any frontend work, create a skill that holds your design guidelines. Look and feel, variables, spacing, colors, component patterns, the whole system. Every time Claude touches UI it will reference your guidelines first, which means consistent output without you having to repeat yourself. This is especially useful if you don't come from a frontend or design background. A solid design system skill lets you produce clean and polished interfaces without thinking about it. I have a /ui-design skill for exactly this.
Automate Your Entire Git Workflow
Automate PR Comment Resolution
Connect your GitHub to Claude through the MCP plugin and let it help you work through PR comments. I built a /pr-comments skill that fetches all comments, categorizes them, and works through them one by one. It reads the context, makes the fix, and resolves the thread directly on GitHub. Saves me so much time and context switching between GitHub, Claude, and my IDE.
Your First-Line Code Reviewer
There are many different products out there for AI-driven PR reviews, and Claude handles this excellently as well, maybe even better than many tools since you can customize how Claude reviews so much. Letting Claude do a first-line PR review before any colleagues look at your code saves them time and saves you from embarrassing misses, it's a win-win. This is also super helpful when you're working on a solo project, all of a sudden you have someone you can turn to for feedback.
Automate the Boring Git Stuff
I let Claude handle all the git busywork. Committing, writing commit messages, pushing, creating PRs with proper descriptions. I have a /commit-push-pr command that does the whole thing. Claude already has the full context of what you just built so the commit messages and PR descriptions are actually good.
AI-Powered Conflict Resolution
Merge conflicts used to break my flow completely. Now I just let Claude handle them. It understands the context of both branches, picks the right resolution, and moves on. I barely think about conflicts anymore.
Work on Multiple Features at Once
Utilizing multiple agents to work on multiple features is one of the crazy productivity boosts you can get with Claude Code. The challenge? How do you work on different features simultaneously without branch conflicts?
The answer is git worktrees. Instead of switching branches, worktrees let you check out multiple branches in separate directories from the same repository. Each worktree is an isolated working directory, so you can have Agent 1 implementing Feature A in one terminal while Agent 2 handles Feature B in another, all without any conflicts or context switching.
For example:
Now you have two separate directories, each with its own branch, and you can run Claude Code in both simultaneously. When you're done, merge them independently and clean up the worktrees.
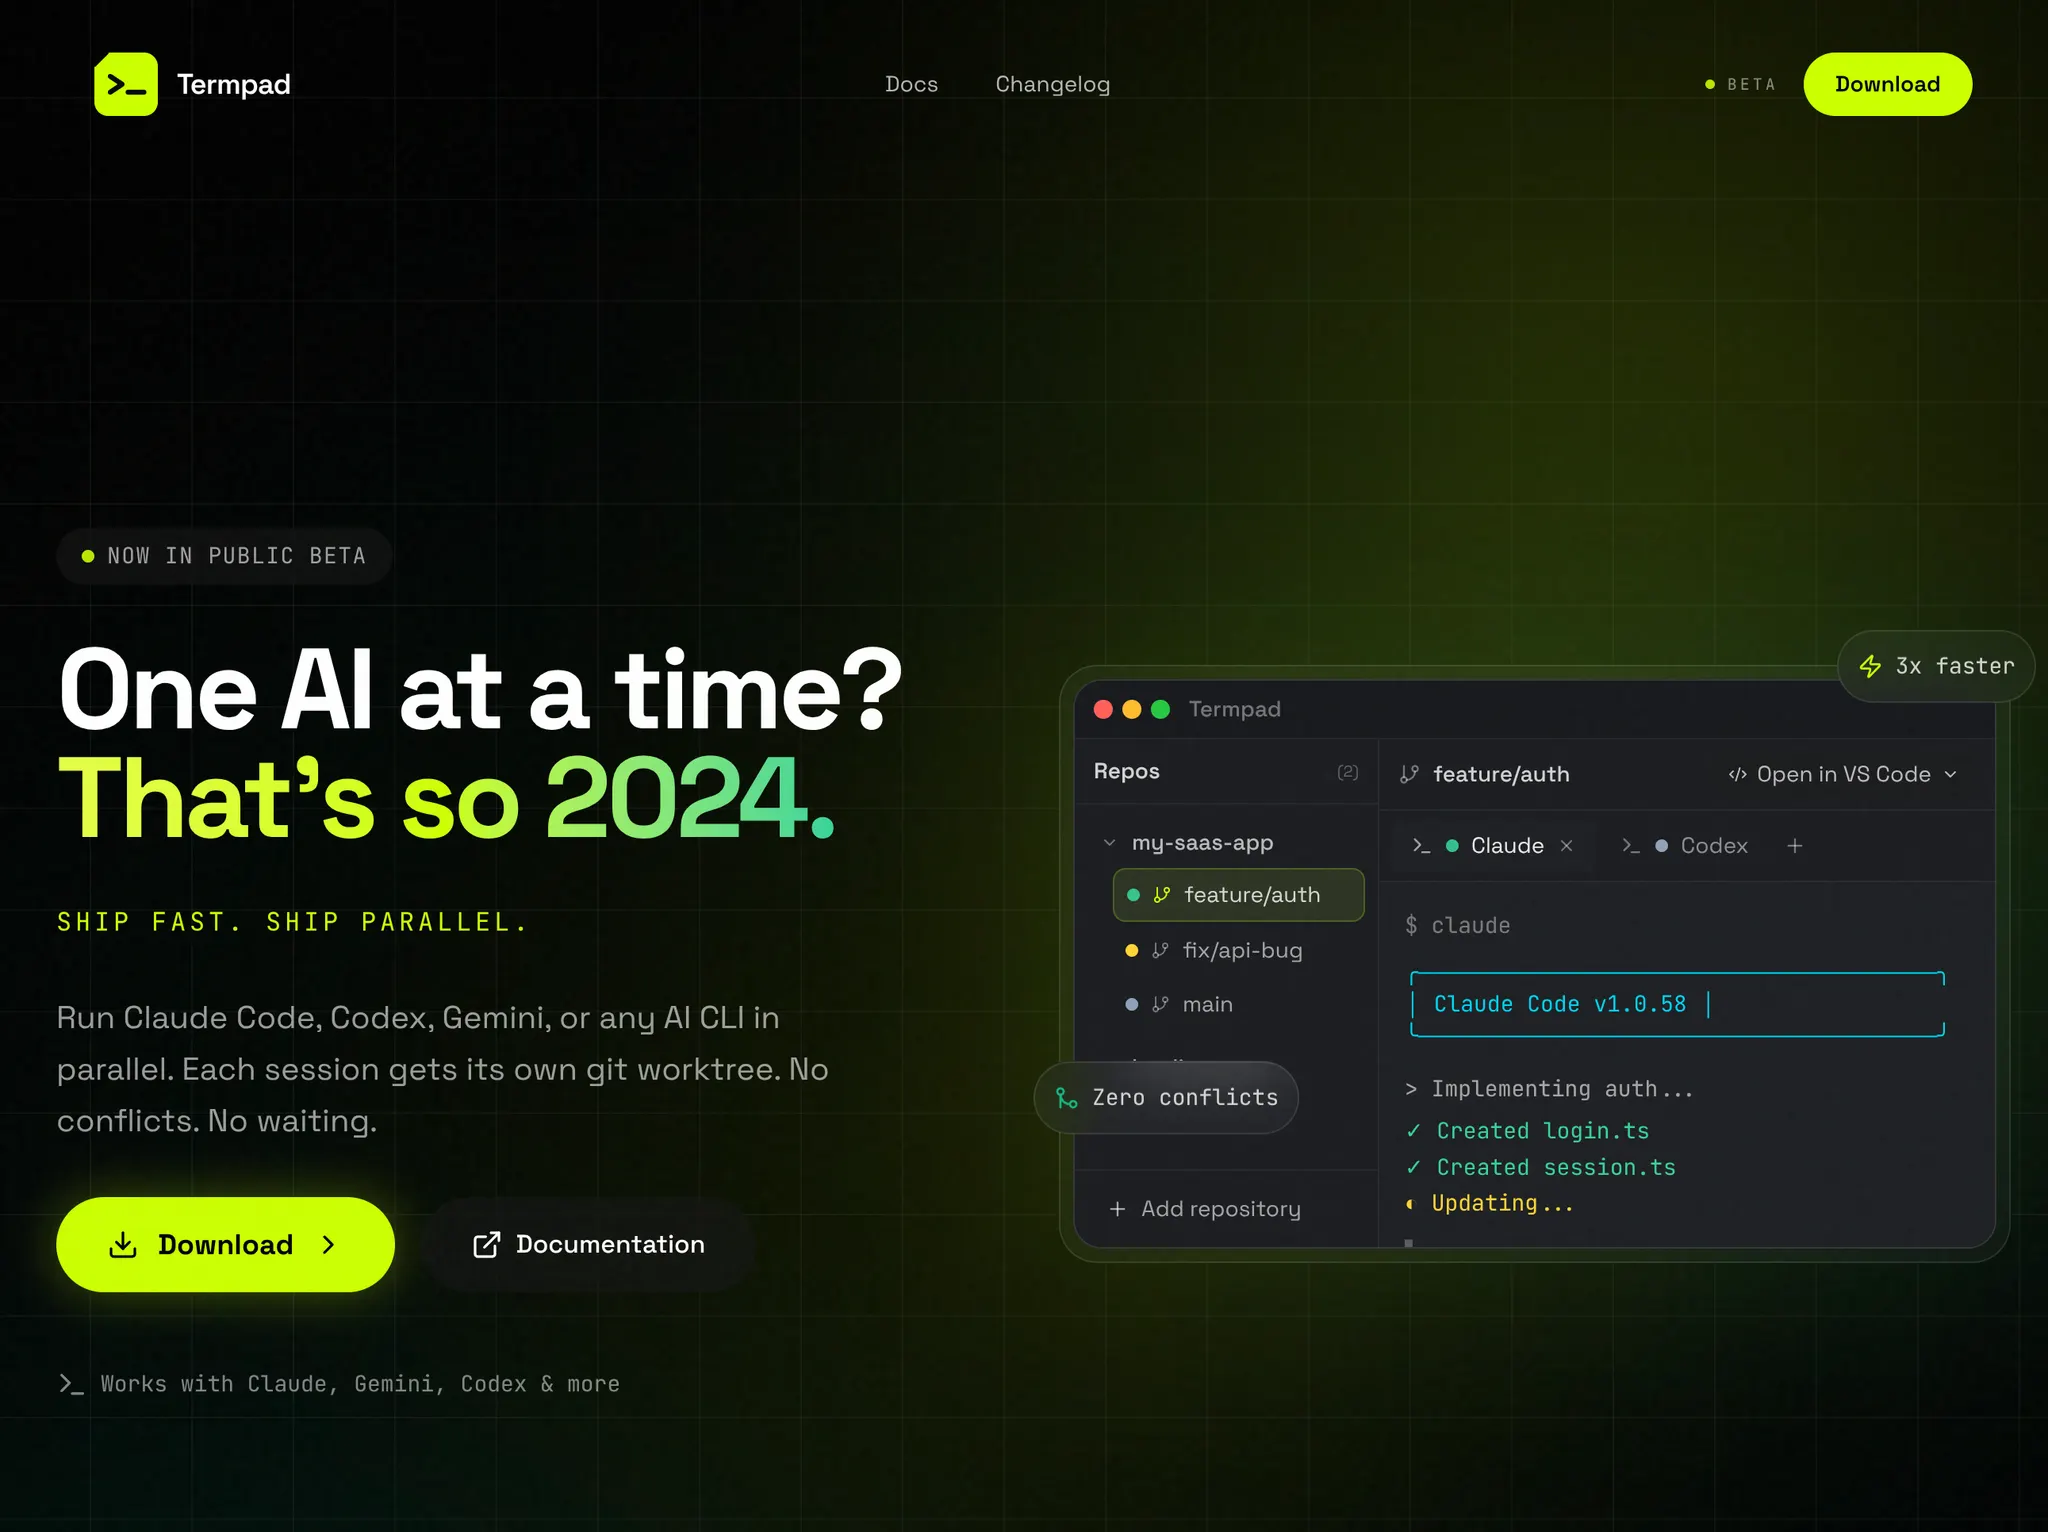
Check out Termpad.com, a terminal workspace manager built by my friend specifically for managing multiple terminal sessions and worktrees efficiently. Tools like this matter more when your workflow lives in the terminal instead of an IDE.